In creating the cover for Reflection: The Stranger in the Mirror, I knew that I wanted to use an image that specifically suited the story. Initially, my intention was to show a mask and its mirror reflection. Since I wanted the mask on the cover to match the one that Nerissa actually wears in the story, I decided to make it myself.
I started out by buying a basic half-face mask from Hobby Lobby. I’ve never made a mask before, so I also bought a second one to use as a guinea pig to test out ideas. I covered both with two coats of a metallic orange spray paint made for model cars. Before attaching the scrollwork accents, I did a few mock-ups to check positioning.
|
|
|
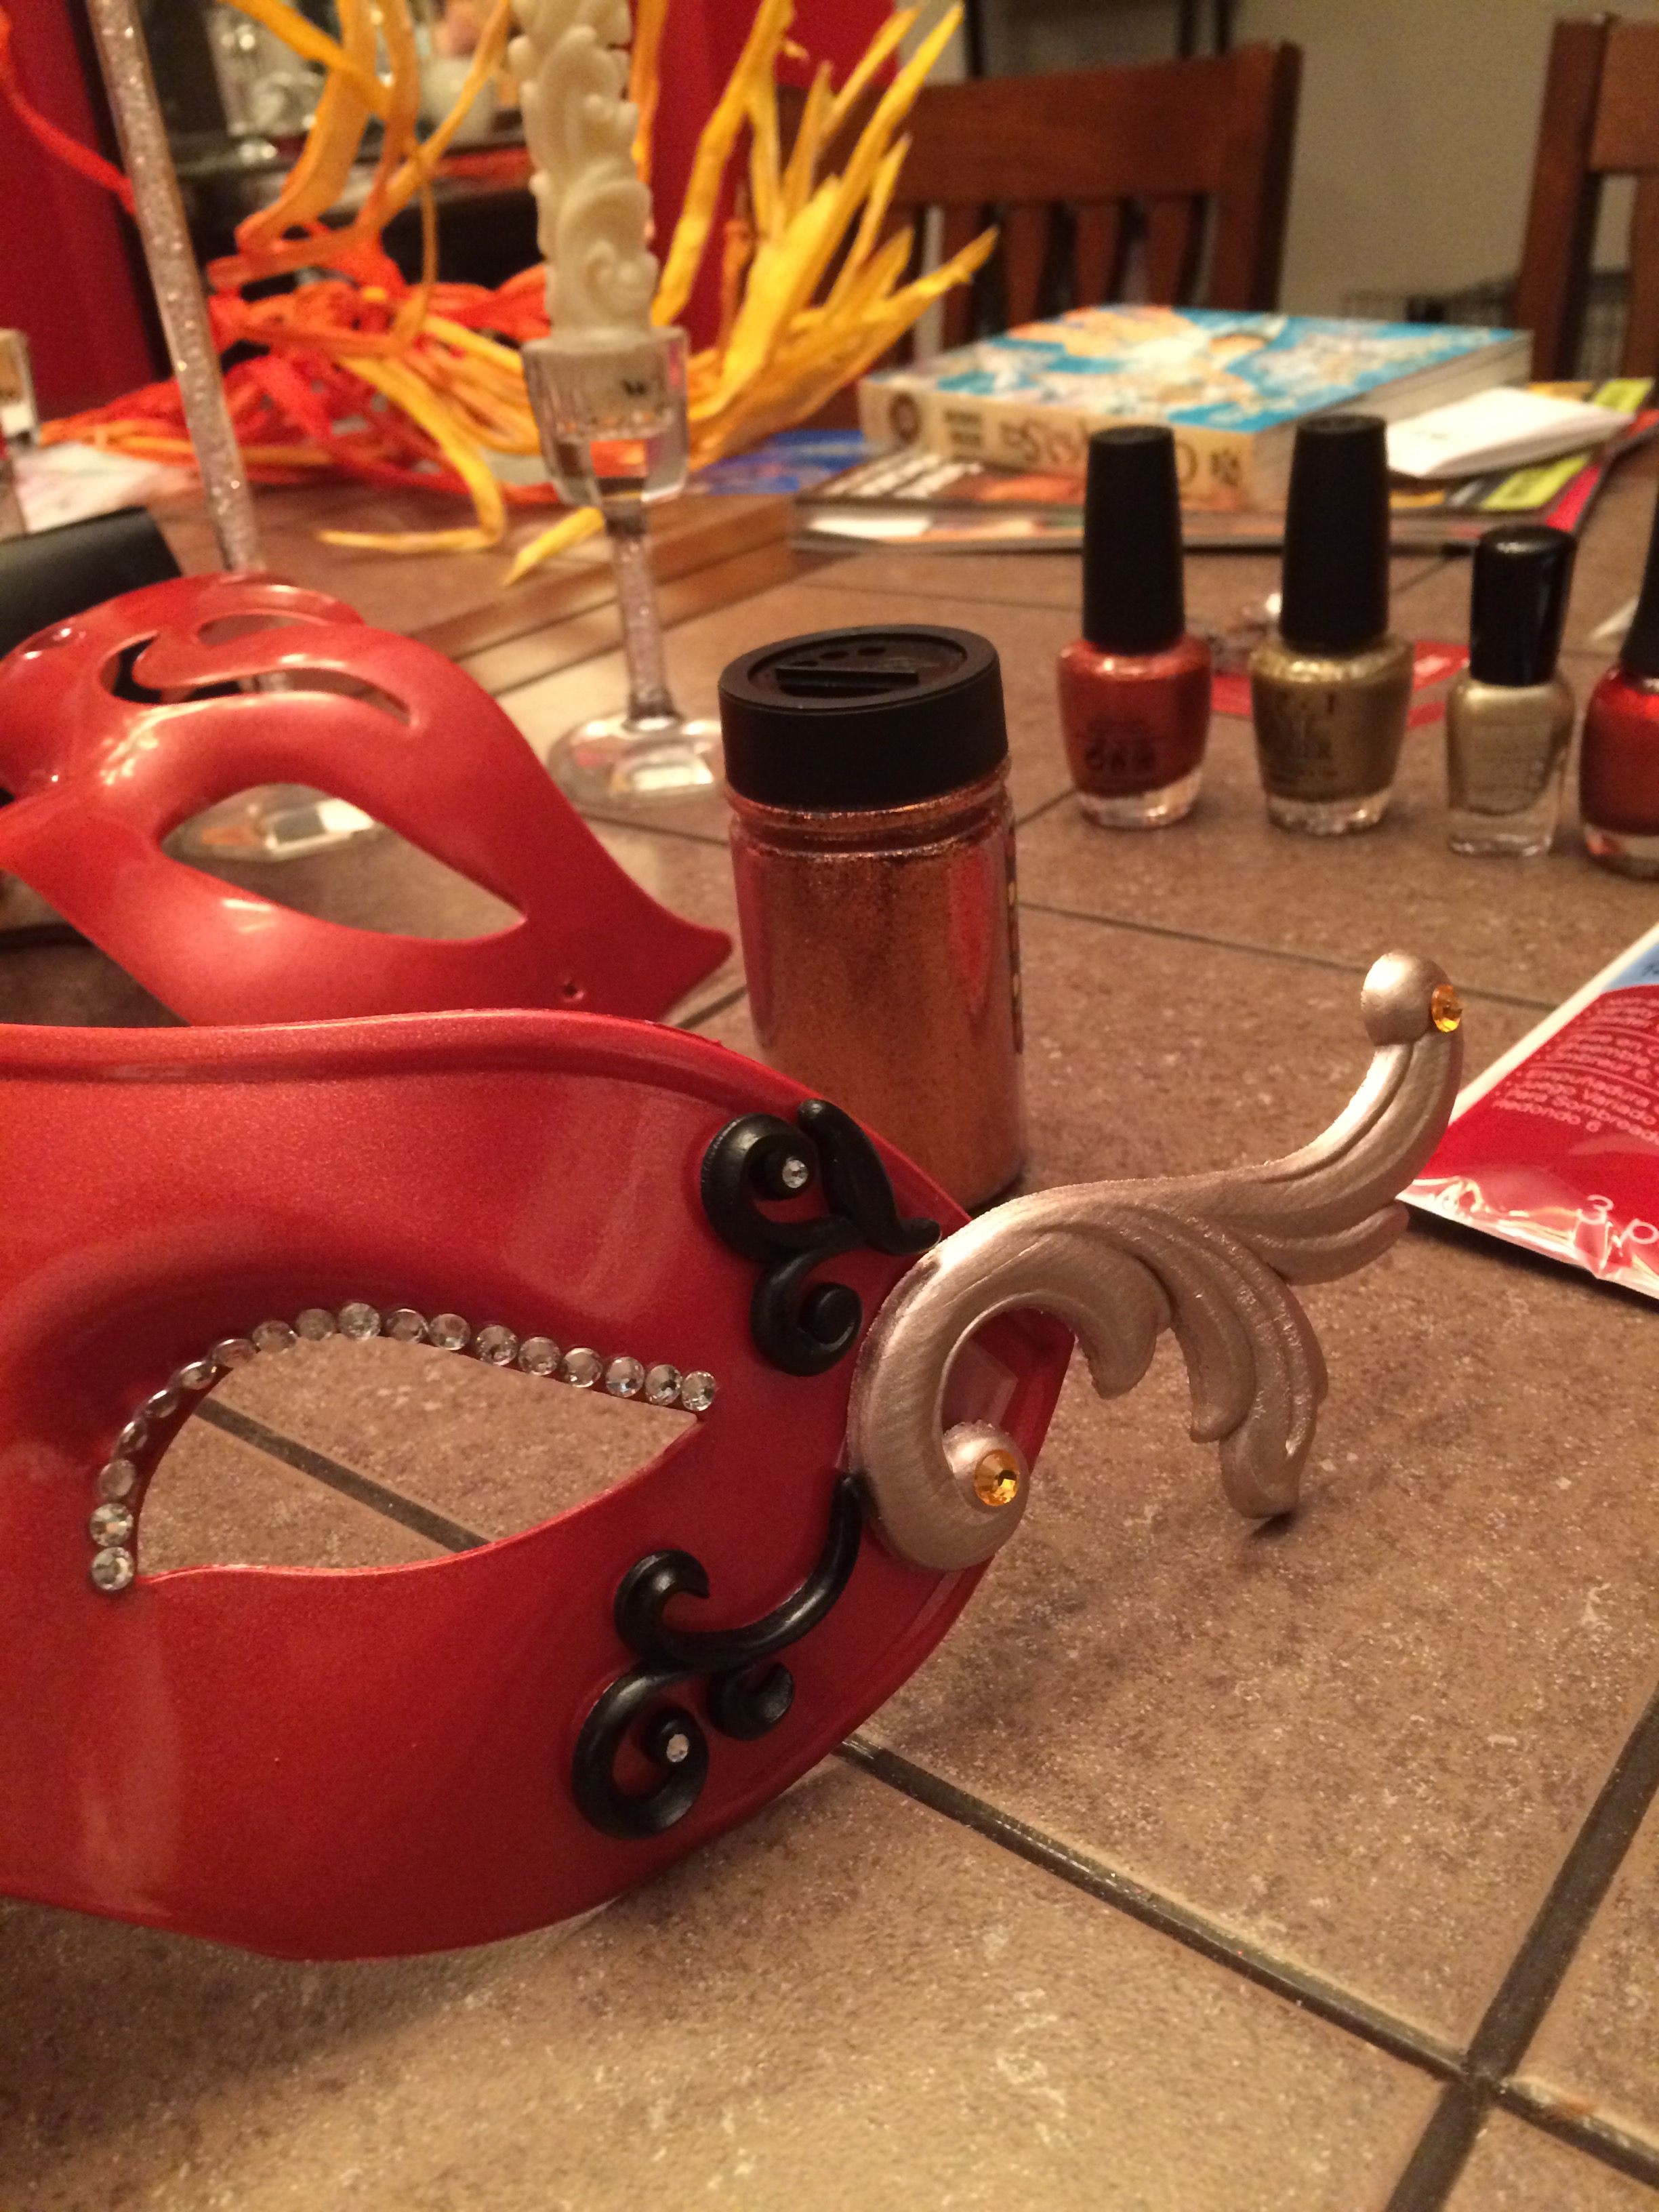

I envisioned the detailing of Nerissa’s mask to be three-dimensional, so I didn’t want to stencil the patterns onto the mask. It took some time, but I ended up finding just what I was looking for: the larger pieces are wood parts that were found in the clock making supplies, while the smaller pieces are 3-D resin stickers found in the scrapbooking supply section. After checking out the mock-ups, I colored all of the scrollwork pieces with two coats of Krylon rose gold spray paint.
|
|
|
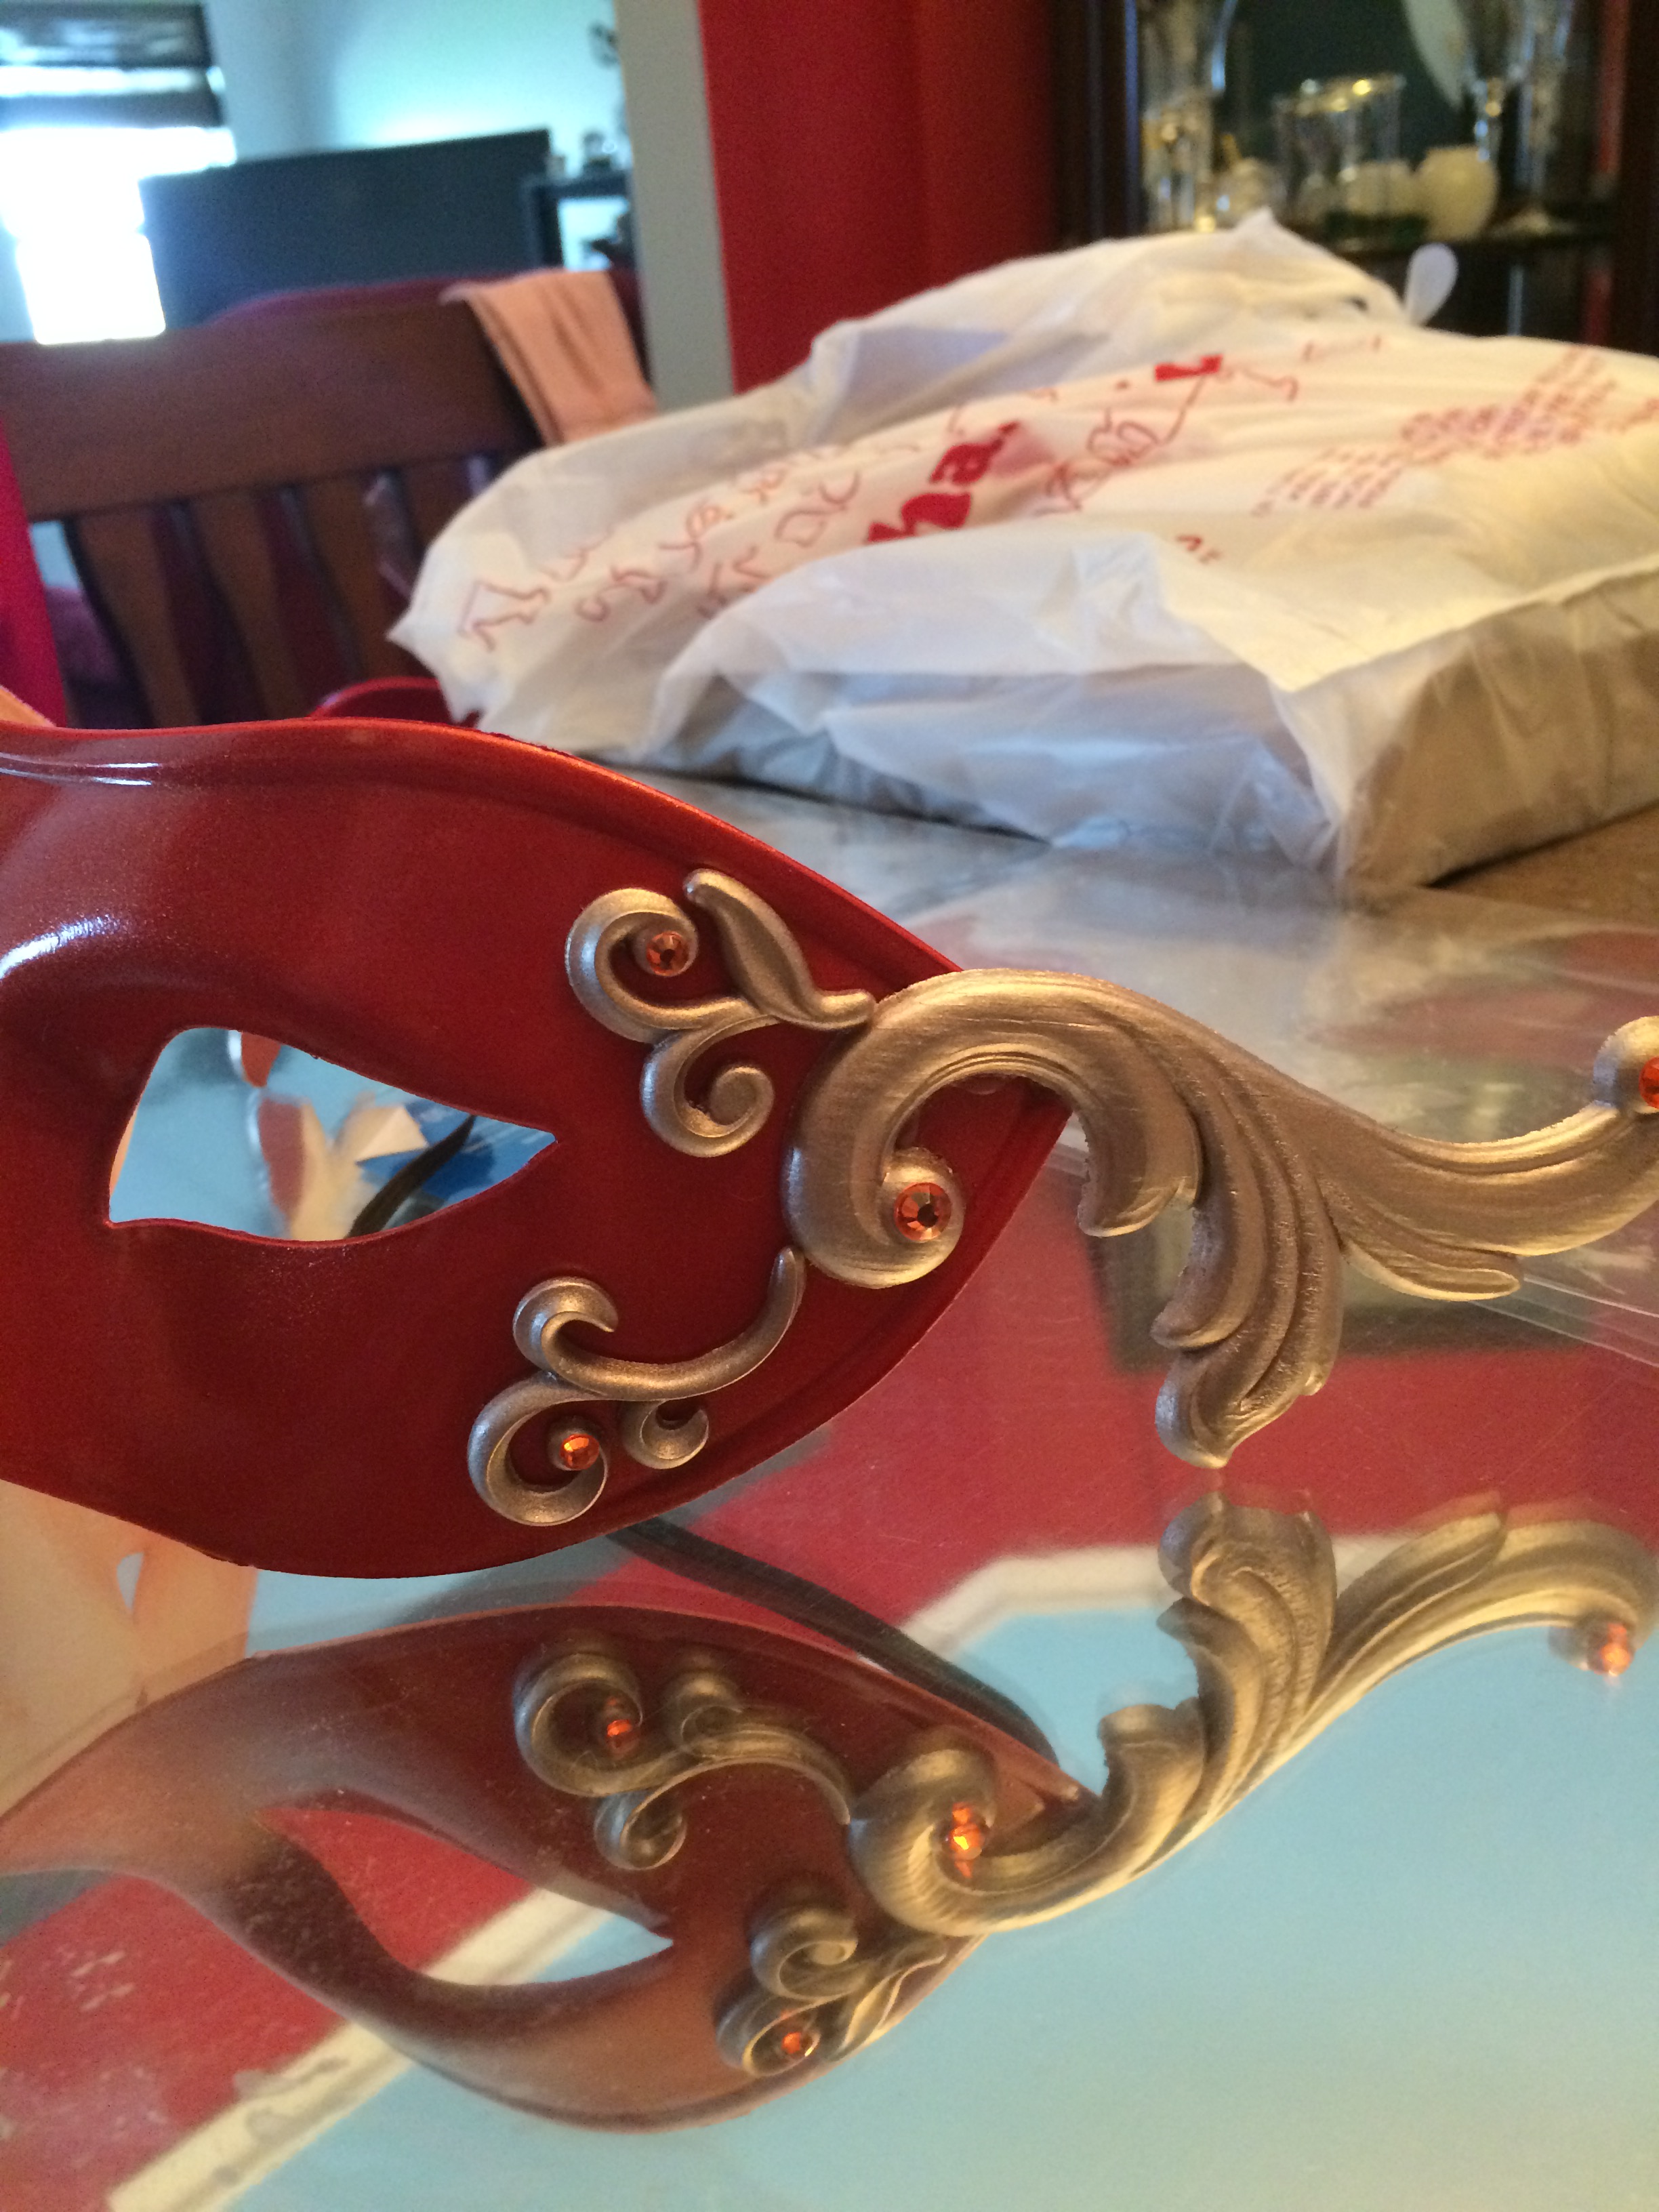
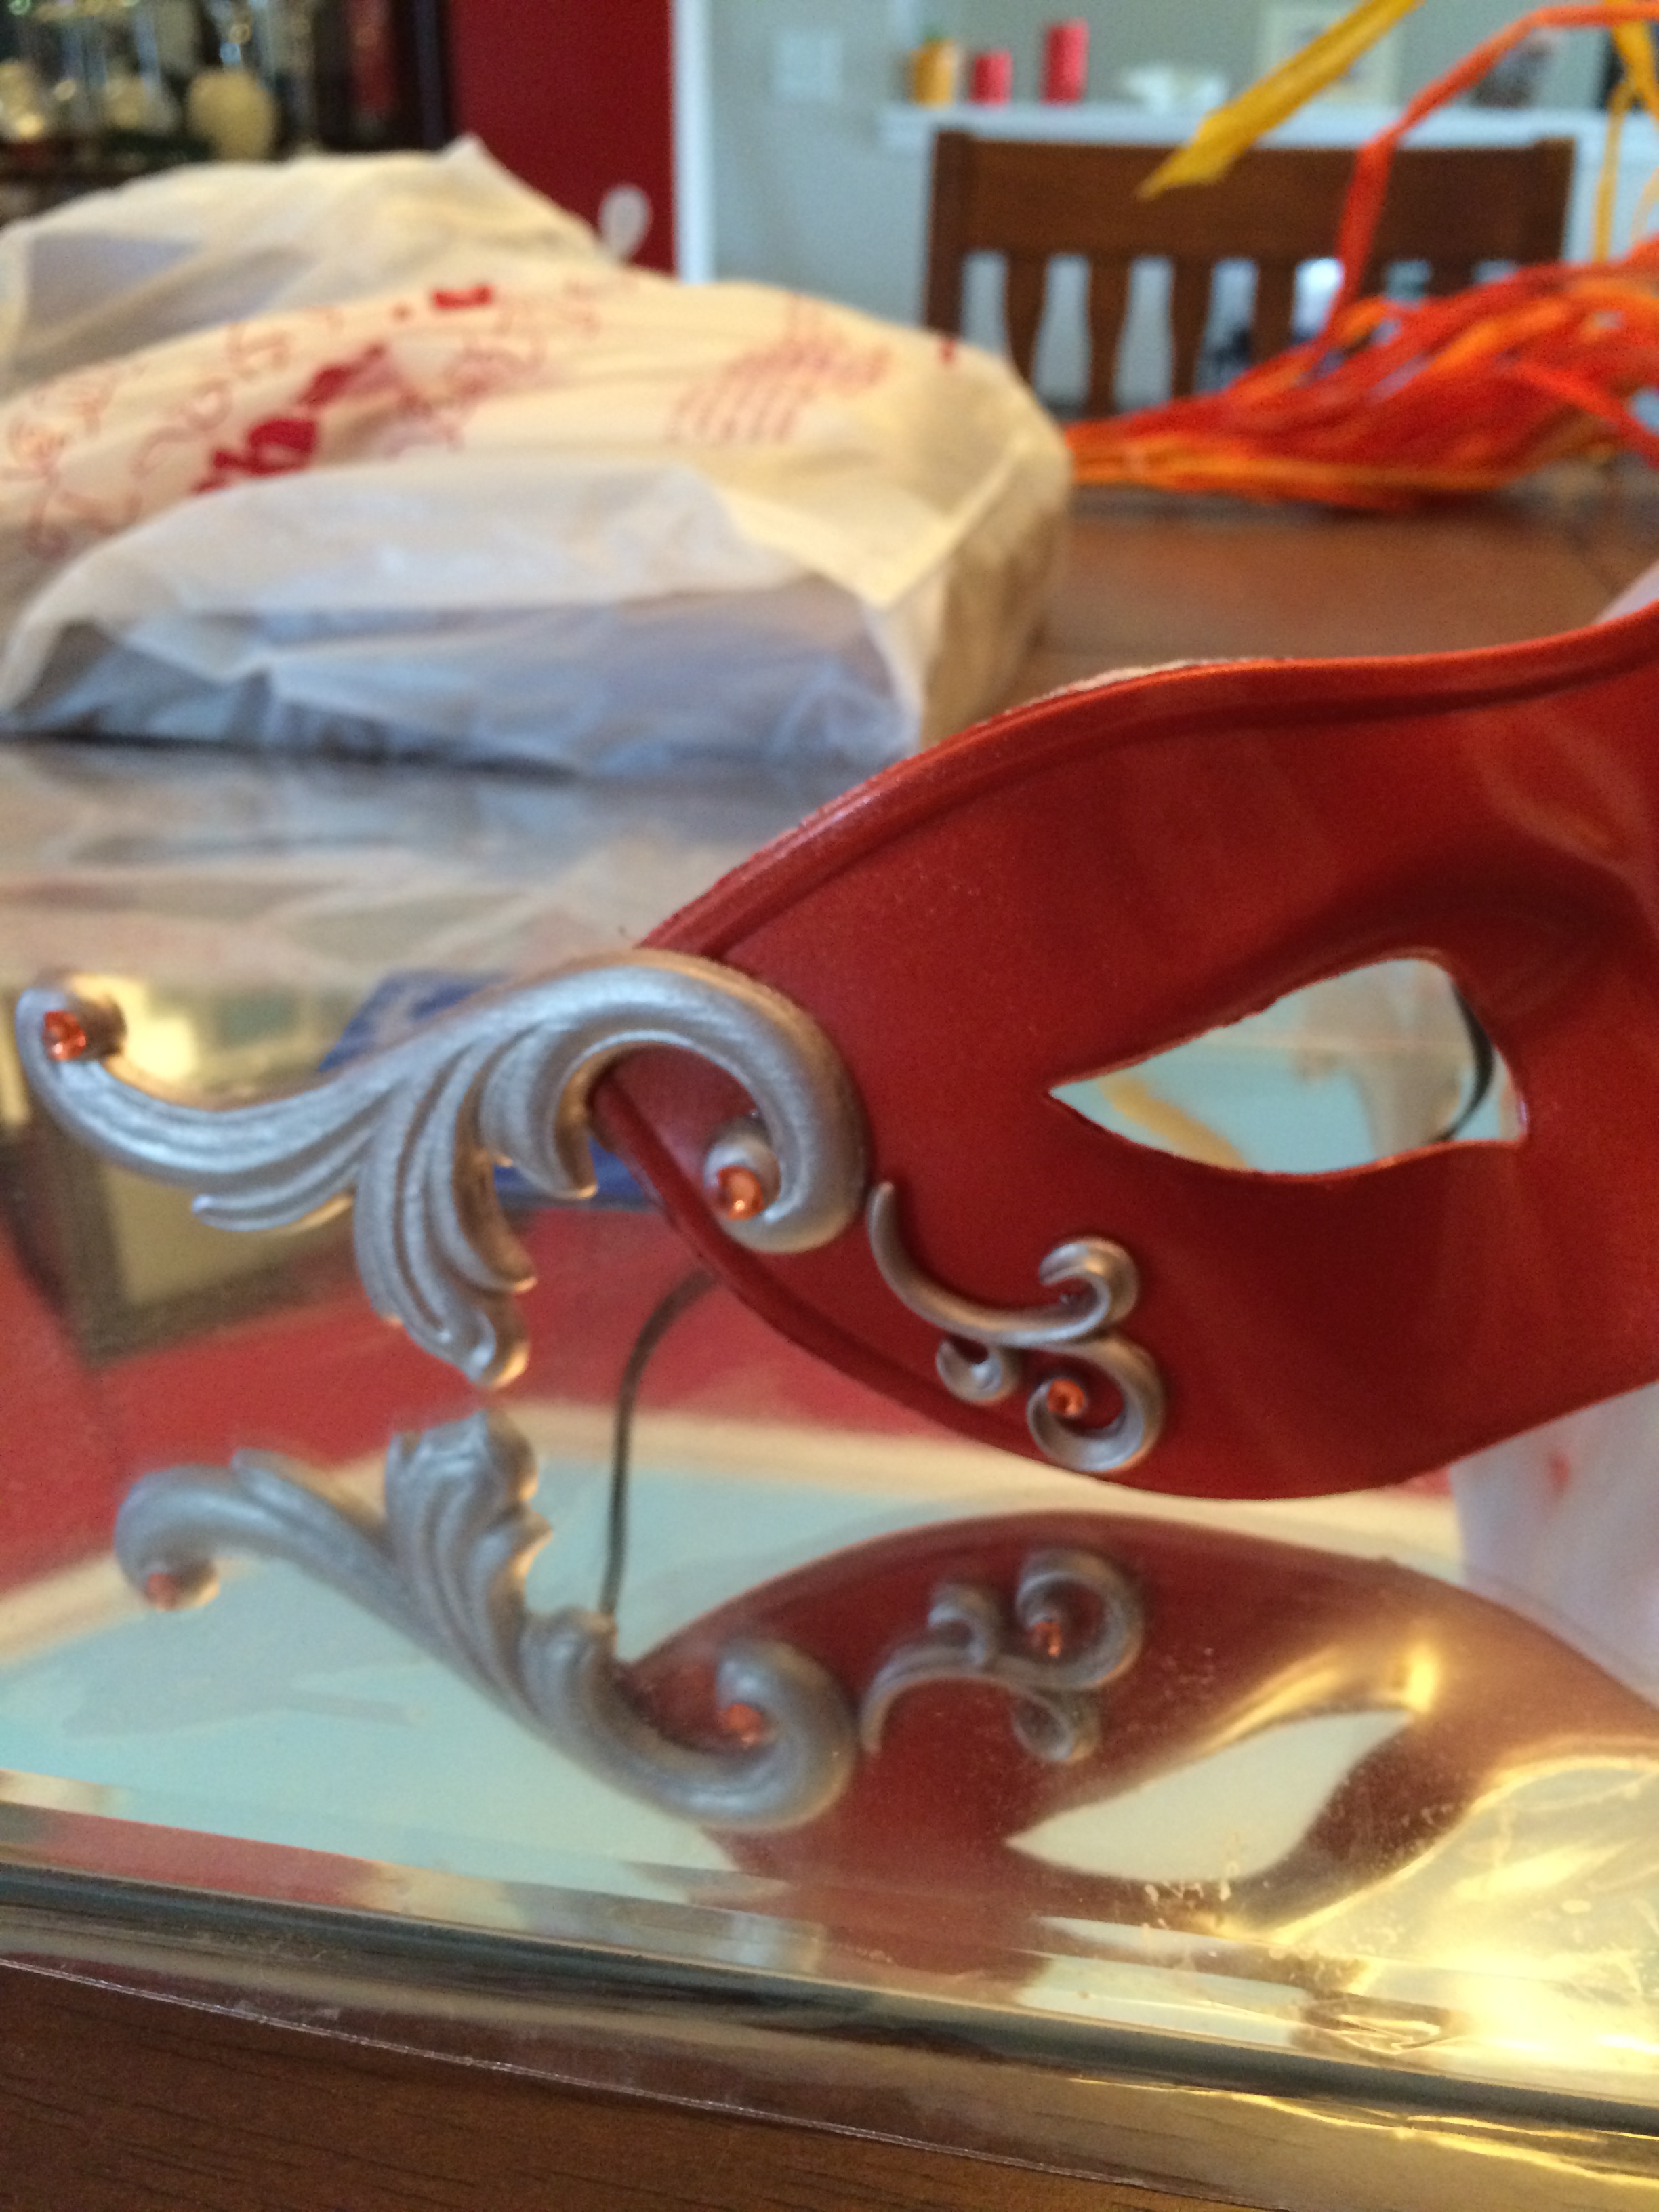
Once the pieces dried, I attached them to the mask with Tacky Glue. For the very small areas, it was necessary to use a toothpick to apply the glue. I added orange flatback Swarovski crystal accents to the ends of the scrollwork pieces for a pop of color. Around the eyes, I used clear flatback Swarovski crystal rhinestones. The crystals were placed one by one using Tacky Glue and tweezers.
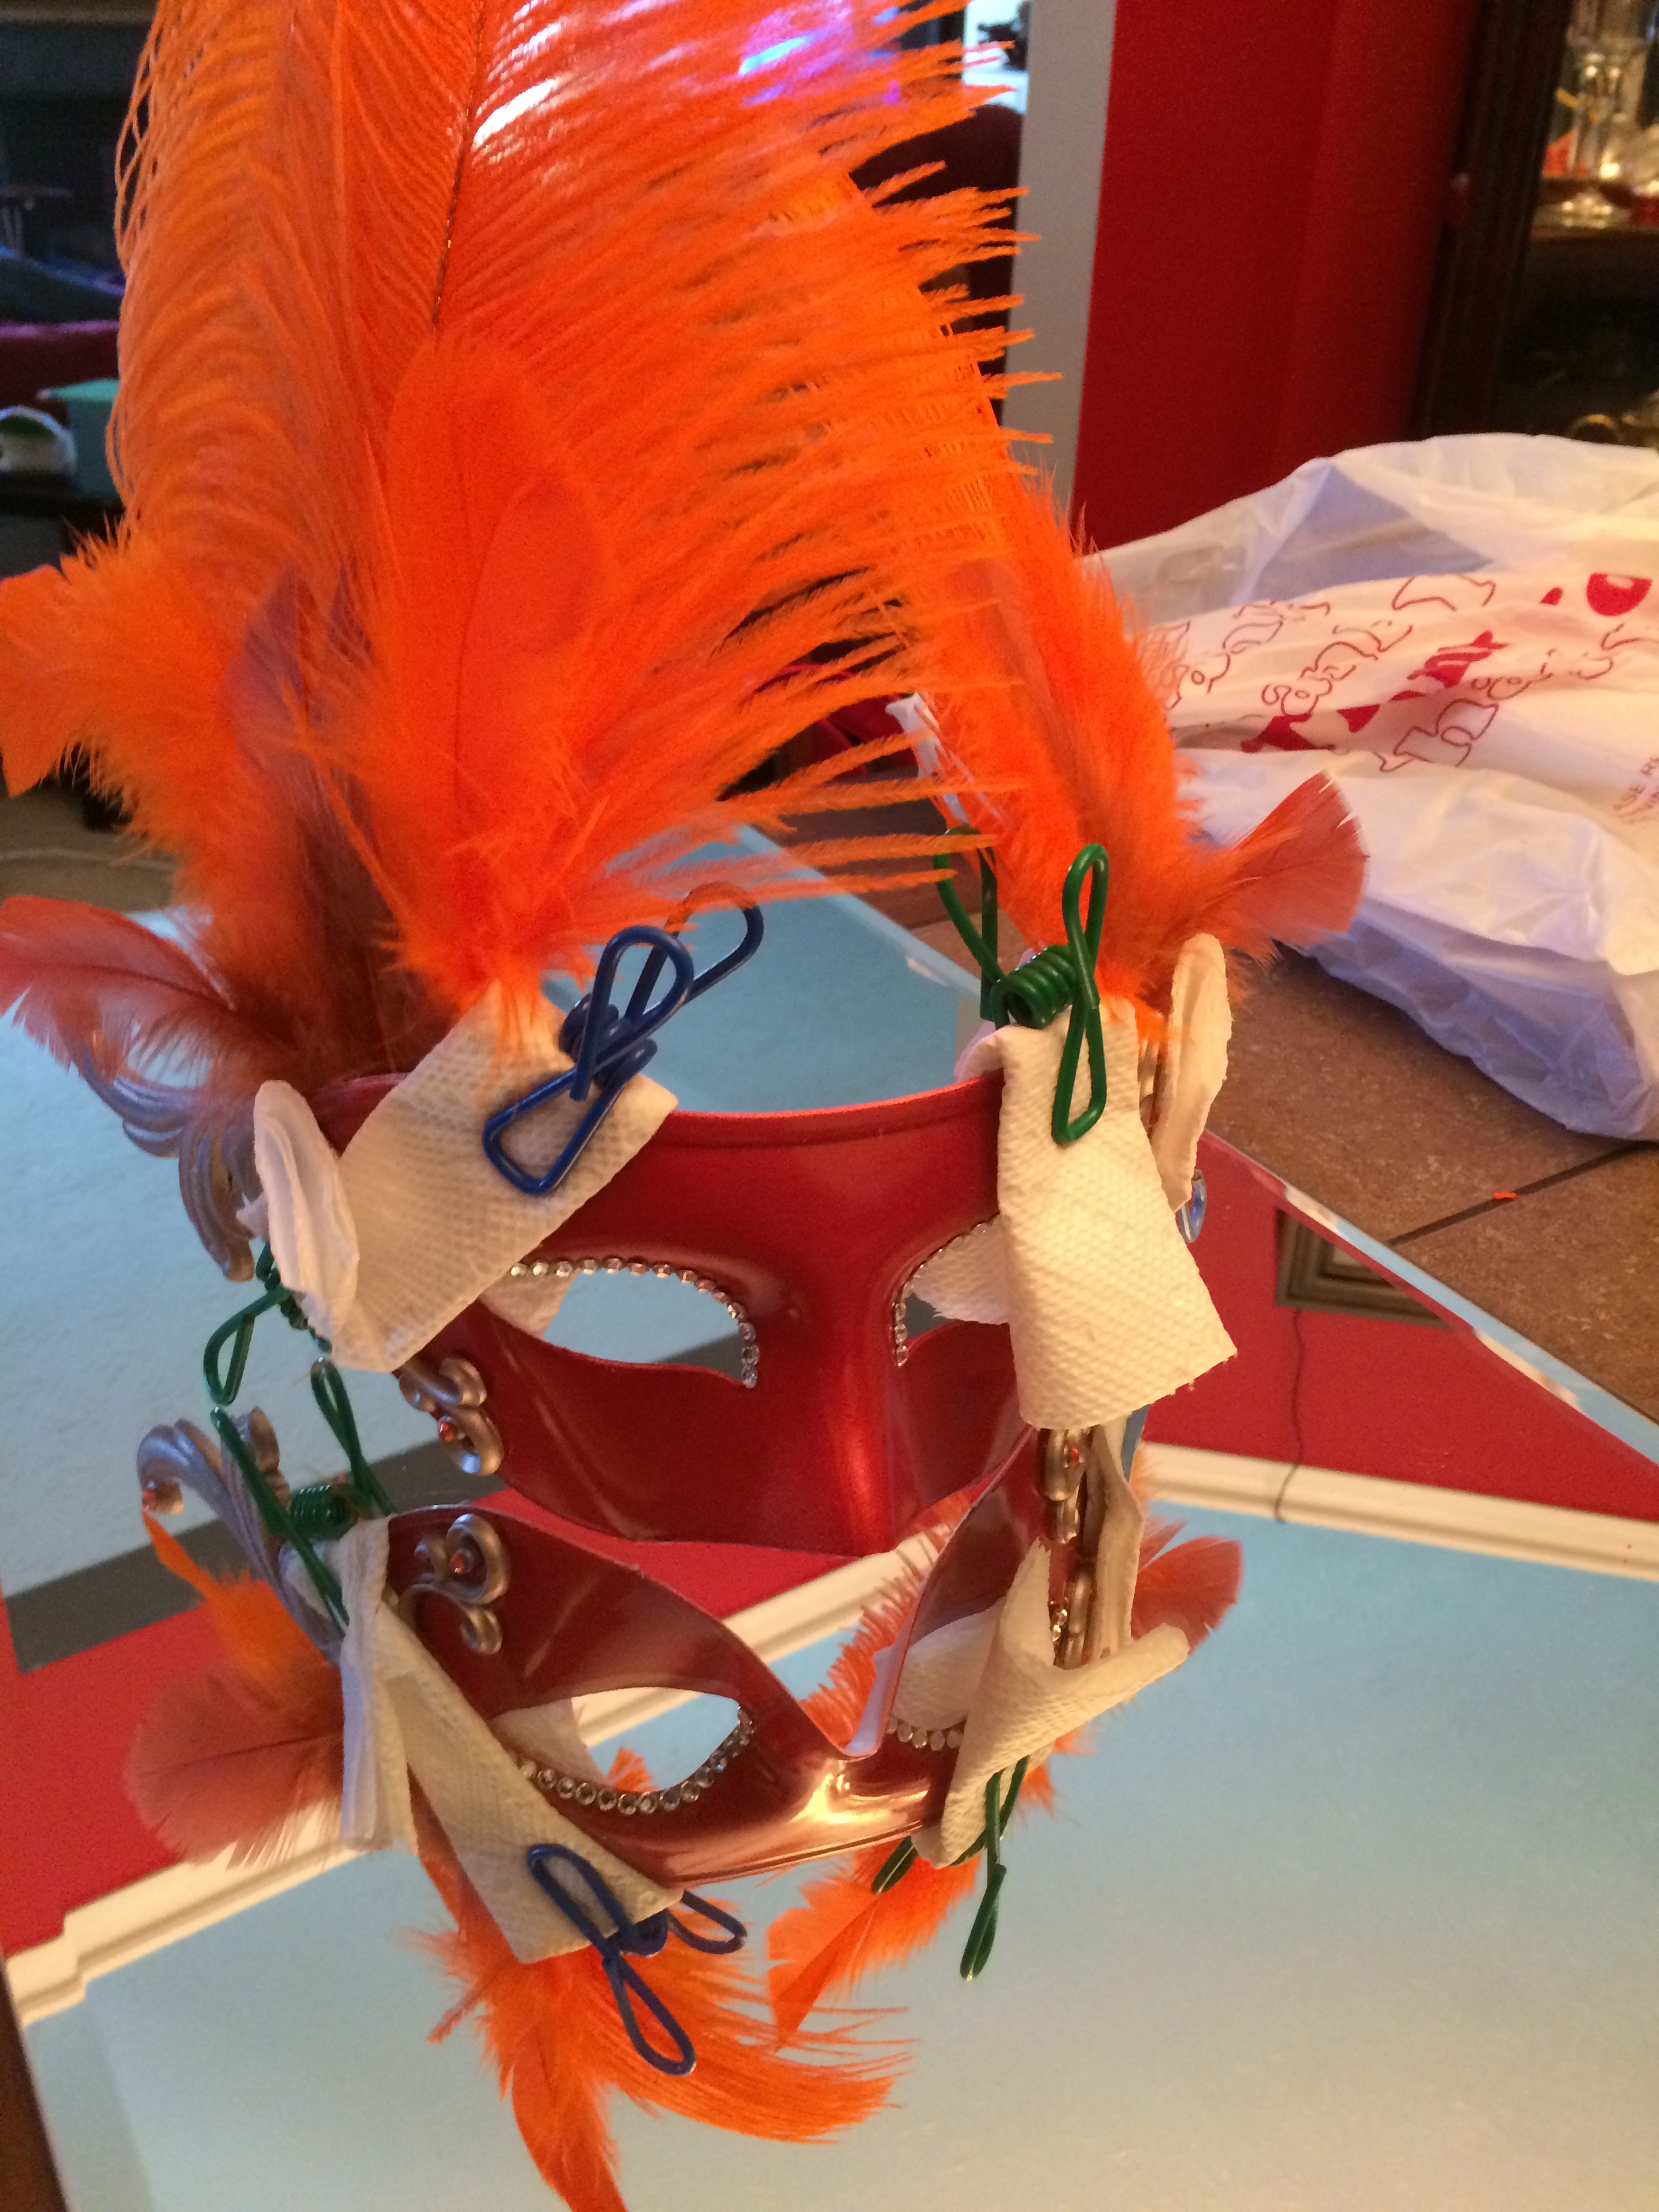
Once the scrollwork and crystal pieces were dry, it was time to attach the feathers. The hardest part about making this mask was just finding large orange feathers in the first place. Large white feathers? Piece of cake. Blue or Pink? No problem! Orange? Not a chance. I went to every hobby and craft store I knew of, scoured Amazon, and visited numerous party supply and costume stores before I finally found a random little place in a strip mall that had them. Attaching the feathers to the mask was a two-step process. First, I arranged the feathers as I wanted them to look and glued them to a strip of black felt. Next, when the strip dried and the feathers were secure, I glued the piece to the mask. It wasn’t possible to lay the mask flat while the glue dried, so I improvised by holding them in place with paper towels (in case glue oozed through) and potato chip clips. I then covered the backside of the mask with black felt so that the reverse side wouldn’t show in the mirror or against the black backdrop I planned to use.
I thought that the concept of the mirror and reflection represented the idea of a stranger in the mirror well, but no matter how I positioned the mask, some part of the mirror reflection looked blurry in photos. I didn’t want to use a partially blurry image for the cover, so I had to come up with something else.

Fortunately, I had already started thinking about what to do for the second book cover and gathering materials. One of the things I had already bought was an old book. I wanted a leather book that was old enough to show visible wear and tear and thick enough that I could embed a crystal in the spine. I found this one at a local antique mall. The leather was actually in reasonably good condition, but I was able to rough it up sufficiently by rubbing at the spine and cover with the edge of a coin. In the story, the spines of the books would be deep enough to form a pocket for the crystal to fit into. The spine of this book is no deeper than any other hardback book would be, so I wasn’t able to make a pocket. Instead, I simply cut the leather away in an area large enough to fit one of the quartz crystals from my collection. The crystal was held in place using Museum Wax. Museum Wax is great for when you want to securely hold non-porous items in place without glue. It’s non-permanent and doesn’t leave a residue.

To actually take the photo, I set up a tri-fold cardboard display, like you would use for school projects or science fairs, and draped a large sheet of black felt over top it and across my kitchen table. Using the black felt helped to reduce any glare or light gradients to give a uniform black background. Finally, after about 200 different pictures with various adjustments to position, angle and amount of light, the end result is the photograph you see on each book cover!


1 Comment